

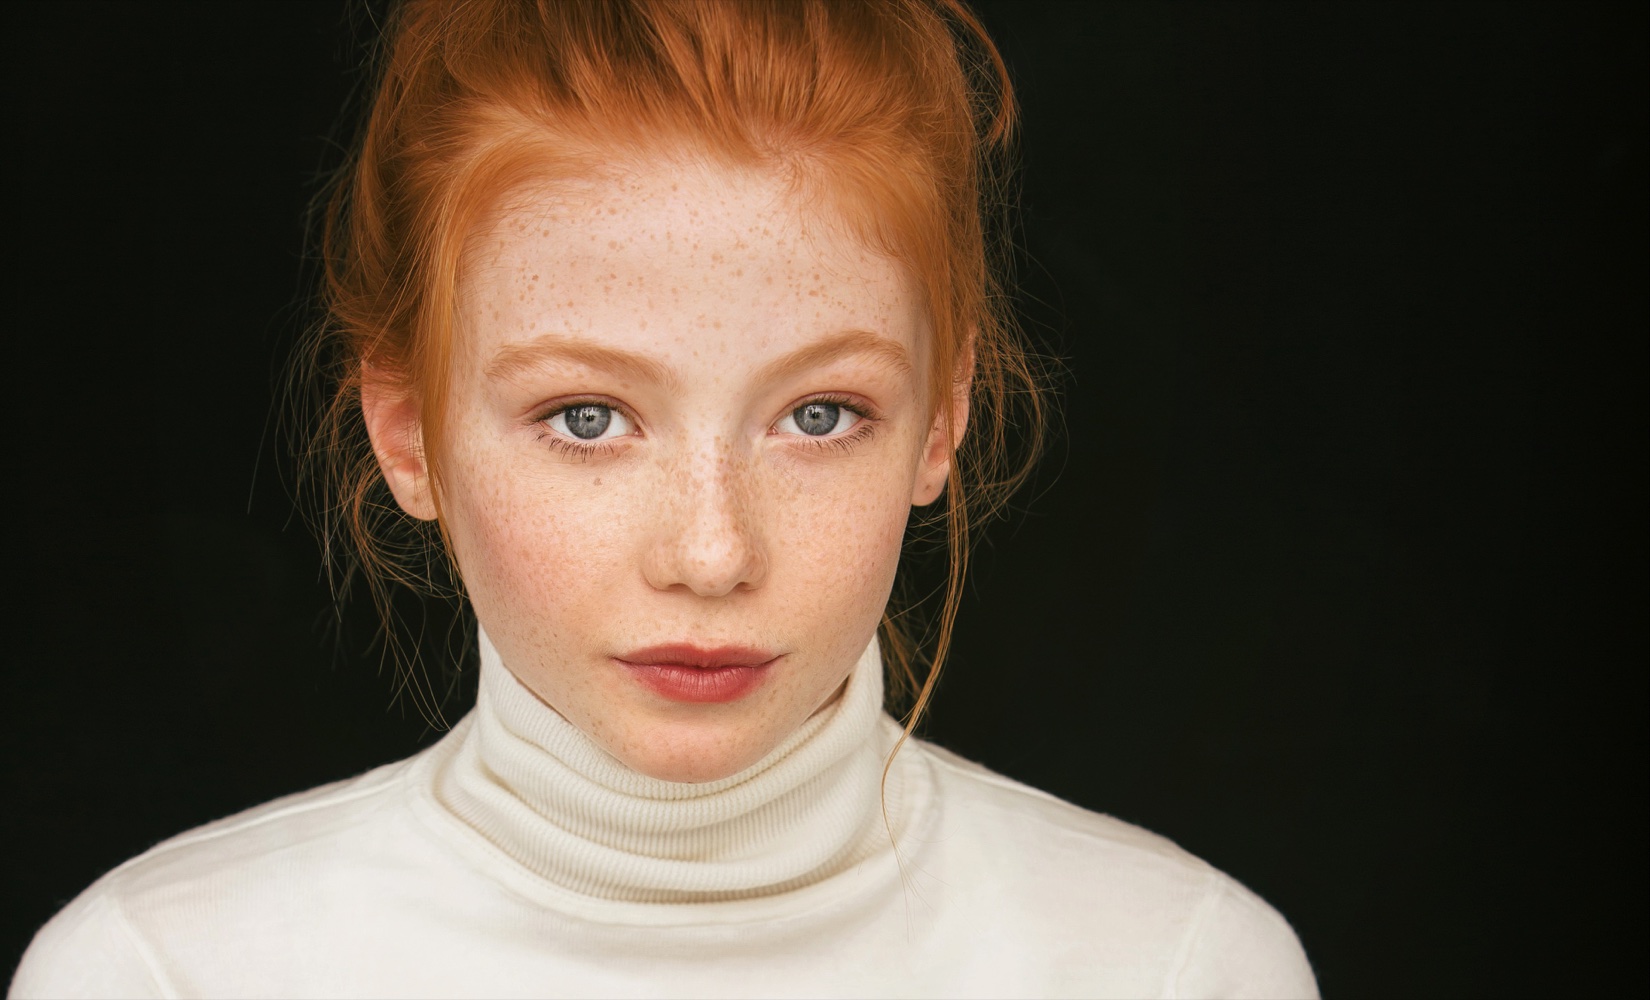
Choosing Actor Headshots After Your Los Angeles Session
Choosing actor headshots after a session is easier when you judge each photograph by its purpose. Start with a current likeness, clear eyes, and an expression that supports the roles you want to pursue. Then compare a small group of finalists at the size people will actually see them.
Choosing actor headshots starts with knowing how you will use them. A proof gallery can contain many appealing photographs. Some may feel flattering, some may surprise you, and several may look almost identical. A deliberate selection process helps you turn that variety into a useful set for submissions.
This guide focuses on selecting your own finished images after a shoot. Before beginning, revisit the goals you discussed with your photographer. You can also browse our actor headshot portfolio for examples of distinct commercial and theatrical impressions.
Start choosing actor headshots with a clear brief
Write down what each final image needs to communicate. Perhaps you want an approachable commercial portrait, a more focused theatrical option, and a credible professional look. Use the priorities you actually brought to the session.
Keep those notes beside the gallery. An image can be attractive and still serve a different purpose from the one you need. Comparing it with a clear brief makes the decision less dependent on how you feel about your appearance that day.
If you have an agent or manager, confirm which gaps they want the new photographs to fill. That conversation gives their later feedback a shared starting point. If you are selecting independently, use recent role descriptions and the work you are realistically pursuing.
Choosing actor headshots with clear eyes and a current likeness
Look through the gallery without trying to choose a single winner immediately. Mark images that feel recognizably like you and have readable expressions. Check that the eyes are clear and that posture, hair, and clothing support the overall impression.
Set aside photographs where a blink, distracted expression, or awkward clothing fold changes the image in an unhelpful way. Leave small temporary skin distractions for the retouching discussion. That keeps a minor blemish from eliminating an otherwise strong expression.
Use file names or the gallery’s selection system consistently. Keep a short note beside each promising image describing why it works. A phrase such as relaxed confidence is more helpful later than a rating with no explanation.
Compare similar frames in small groups
Several neighboring frames may differ only slightly. Put two or three together and ask which expression communicates most clearly. Look at the relationship between the eyes, mouth, and posture. A tiny shift can change whether the image feels engaged, guarded, or uncertain.
Give each comparison a specific question. Which feels more approachable? Which suggests greater focus? Which looks most like you in a conversation? This is more productive than repeatedly asking which photograph is best without naming the purpose.
Pause when you stop seeing meaningful differences. Return to the finalists after a break and review them in a different order. You may find that a clear favorite emerges once you are less absorbed in small details.
Choosing actor headshots that work at a small size
Headshots often appear in grids or profile previews. Reduce your finalists and check whether the expression remains legible. Your face should still be easy to find, and the background or clothing should support the image.
Inspect the crop carefully. Keep the eyes comfortably inside the frame and avoid a composition that feels accidentally cut off. If an image needs an alternate crop, ask your photographer whether the original file provides enough room.
Check your actual submission platform’s guidance. For example, visit Actors Access to review your profile and the current upload instructions. Evaluate the result in its intended context before replacing a photograph you already use.
Get feedback that helps you decide
Share a manageable shortlist with your representative or another trusted professional who understands your goals. Explain what each category is intended to accomplish. Ask which image supports that purpose and why.
Friends and family may respond to the version of you they know best. Their reactions can be helpful, but they may be judging a different question. Keep track of the reason behind each recommendation instead of simply counting votes.
If two people disagree, compare their reasoning. One may value warmth while another is responding to authority. Both observations can be accurate. Your session brief helps you decide which quality matters for the particular image you are selecting.
Choosing actor headshots as a complete set
When choosing actor headshots for different submissions, place your finalists together. Ask what each image adds. A set of nearly identical expressions may offer fewer useful choices than a smaller group with clear differences.
Look for a consistent, current likeness across the set. Hair, grooming, and retouching should make sense together. If one photograph feels dramatically different from the others, determine whether that difference is useful or simply distracting.
Give the images practical labels in your own files so you can find the right version later. Keep the photographer’s original file names available when communicating selections. This reduces confusion if several images were photographed in the same outfit.
Send precise retouching instructions
Confirm the selected file names before ordering edits. Describe the specific temporary distractions you want addressed and discuss how to retain natural texture and permanent features. Clear requests help the photographer understand your expectations.
Review the studio’s image delivery and retouching information for current details. Ask about turnaround time if you have a deadline. Selection, retouching, and final delivery may happen on different schedules.
When the finished files arrive, compare them with the approved proofs. Check the eyes, skin texture, color, and crop. Download the originals, keep a backup, and make separate copies for the places you submit. This keeps your source files available for future uses.
Common questions about final selections
How many photographs should I shortlist?
Start with a small group for each intended look, then reduce it through side-by-side comparisons. The useful number depends on the session and your goals. Give reviewers enough choice to compare expressions without sending a gallery of near duplicates.
Should I choose my favorite smile?
Consider the complete expression and the photograph’s purpose. A smile can work beautifully when the eyes and posture support it. Compare how the image reads at a small size and whether it reflects the impression you want.
Can I ask the photographer for selection help?
Ask whether selection guidance is included or available as an additional service. Share your shortlist and intended uses so the feedback can focus on the decisions you are making.
For help planning your next set, contact Michael Roud Photography in Los Angeles. Explore session options and availability when you are ready to create images around your next casting goals.